Audio Compression Basics
Learn about different types of compression and how to use it for pro sound.
Compressors and limiters are music production tools used to reduce the span between the softest and loudest parts of an audio signal. They allow you to control levels, and when used properly, result in louder, more professional sounding recordings.
Here, we’ll explain the basic controls of audio compressors, different compressor types, and give you tips to try on your tracks.
Be sure to check out our other compressor articles, including The Best Compressor Plug-Ins, Tube Versus Solid-State Compression, and Tips with the 1176 Collection.
Why Compress?
Compressors are one of the most important effects to understand when trying to get recordings that sound professional and radio-ready. When used properly, they can make your tracks sound punchy, balanced, and loud, while also injecting coloration and tone.
But over-compressing can squeeze the life out of your recordings. So having a good grasp of the basics will ensure that you are getting the most out of this essential tool.
Audio Compression Explained
Whether you’re using a hardware compressor or a plug-in, there are a few common controls that you should be familiar with.
Threshold
The threshold is the level at which the compression effect is engaged. For example, if the threshold level is set at - 10 dB, only signal peaks that extend above that level will be compressed
Knee
The knee refers to how the compressor transitions between non-compressed and compressed states. Most compressors allow you to choose either a “soft” or a “hard” knee. While some compressors allow you to select positions between the two types of knees.
Attack Time
This refers to the time it takes for the signal to become fully compressed after exceeding the threshold. Faster attack times are usually between 20 and 800 microseconds, while slower times generally range from 10 to 100 milliseconds. Some compressors express this as slopes in dB per second, rather than time.
Release Time
You can think of release as the opposite of attack. It’s the time it takes for the signal to go from the compressed state back to the original non-compressed state.
Release times will be considerably longer than attack times, generally ranging from 40‑60 ms to 2‑5 seconds. Like attack times, these can also be expressed as slopes in dB per second.
Tip: Your release time should be set as short as possible, while avoiding the "pumping" effect. This is a common mistake when compressing low-frequency material such as electric bass and kick drums. If your release time is set too short, you will hear the compressor cycling between active and inactive states, resulting in a “breathing” effect.
Ratio
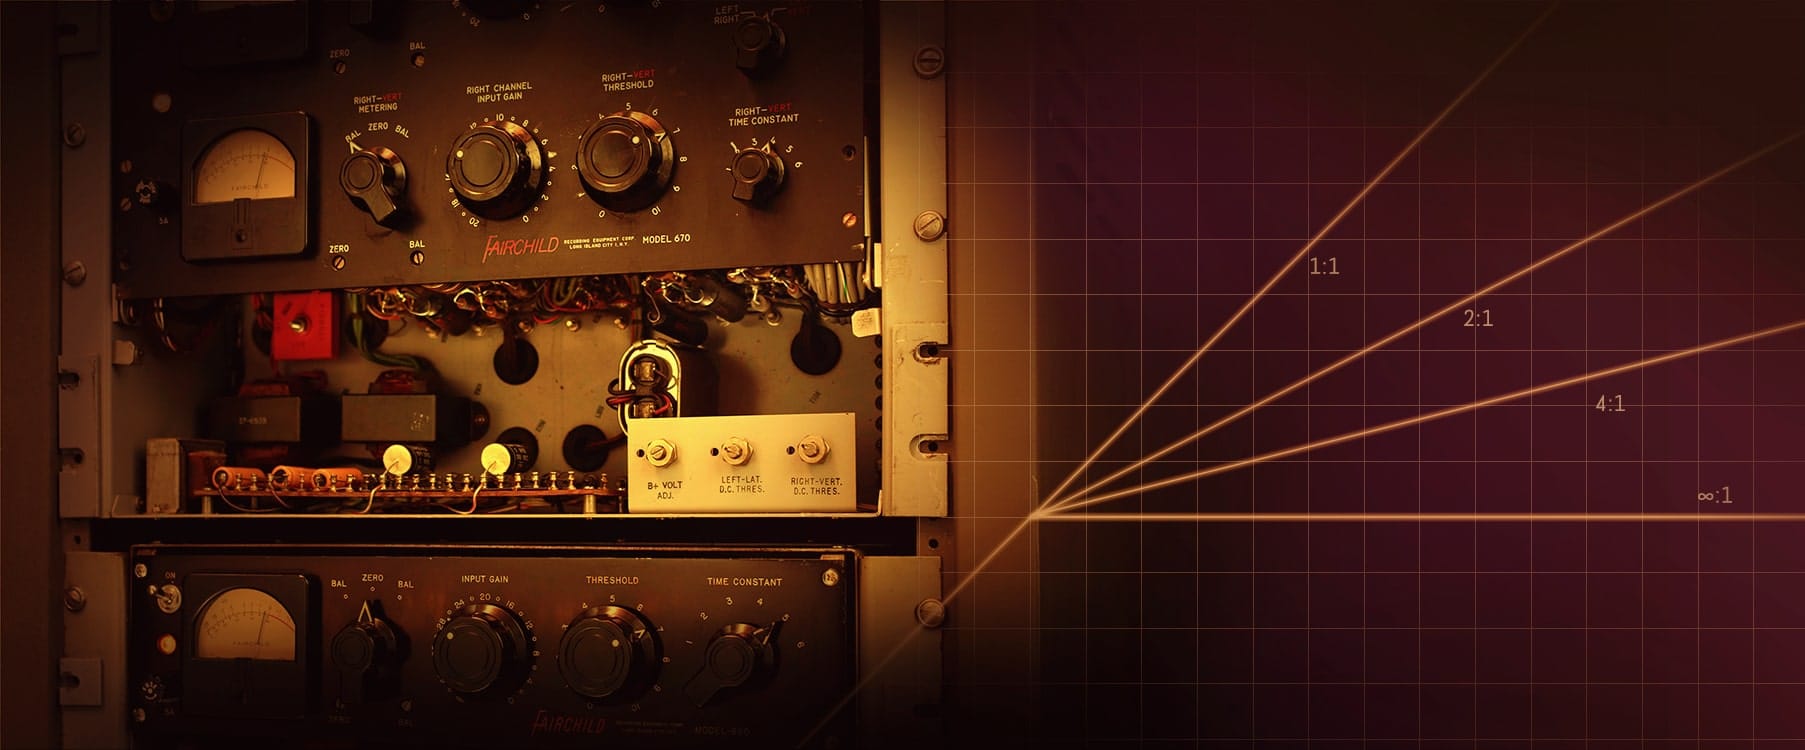
Ratio specifies the amount of compression applied to the signal. This setting is expressed in decibels. For example, a ratio of 2:1 indicates that a signal exceeding the threshold by 2 dB will be attenuated down by 1 dB. A signal exceeding the threshold by 8 dB will be attenuated down by 4 dB, etc. A ratio of 1:1 represents “unity gain” — in other words, no attenuation.
A ratio of around 3:1 is considered moderate compression. 5:1 would be considered medium compression. 8:1 starts getting into strong compression, and 20:1 thru ∞:1 (infinity to one) would be considered “limiting” — an effect that can be used to ensure that a signal essentially never exceeds the set threshold.
Output Gain
Although we perceive compressed signals as being louder, compression actually results in overall lower output. This is where “output gain” or “make-up gain” comes into play.
Output gain is used to “make up” for the attenuation achieved by the compressor. Some compressors provide meters to visually indicate the total attenuation in dB, allowing you to accurately apply the correct amount of make-up gain.
Hardware compressors use either tube or solid-state components for their output gain stage, which can further influence the amount of color and character applied to your track.
Learn More: Tube vs. Solid-State Compression
Common Compressor Types
There are four common types of audio compressor:
1. Tube
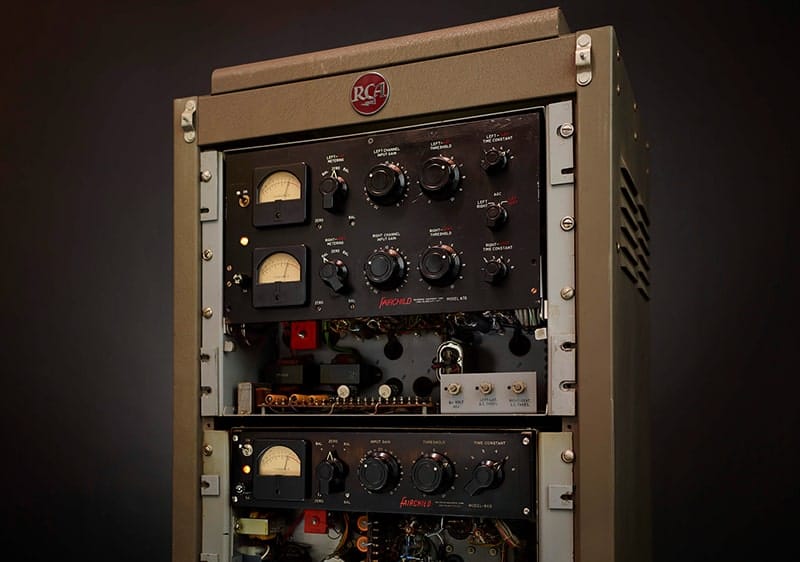
Tube compressors have been around since the 1950s, and are known for imparting warmth, color, and harmonics thanks to their tube gain stage. They tend to have slower attack and release times, resulting in a more "vintage" sound that can be difficult to achieve with other compressor types.
2. Optical
Optical compressors employ a light element and an optical cell. As the amplitude of the signal increases, the light element emits more light, causing the optical cell to attenuate the amplitude of the output signal.
3. FET
FET or “Field Effect Transistor” compressors emulate tube sound, but with transistor circuits. They are fast, clean, and reliable — perfect for punching up drums, vocals, bass, guitars, and more.
Learn More: Tips with the 1176 Collection
4. VCA
Fast and punchy VCA compressors run the gamut. From the Rolls-Royce compression of the SSL G Bus or E, to the hot-rod attitude of the legendary dbx 160, this category of solid-state compressors can add unrelenting character to drums, guitars, and the mix bus.
Compression Tips & Techniques
Here are four tips to get you up and running with compression. Applying these techniques will put you on the path to more professional sounding recordings, and give you confidence when using this powerful, but often misused tool.
Don’t overcompress: Rather than using excessive compression at just one point, apply compression modestly at multiple stages throughout the recording, mixing, and mastering process.
Choose the right tool: Try using compressors with slower attack and release characteristics on mellower sources, such as vocals. Faster FET and VCA compressors tend to work well on louder sources, such as drums and percussion.
Experiment to learn your limits: Try using dramatic compression as an effect. For example, it can sound really interesting to use a compressor to “squish” a clean guitar track, or clamp down on a snare drum to make it stand out.
Keep it simple: Use caution when experimenting with compression on your entire mix. Focus on individual tracks and subgroups first, before exploring more complex techniques with multiband compressors and limiters.
— Mason Hicks, McCoy Tyler
Read More
Origins of the Teletronix LA-3A
Learn the history of the Teletronix LA-3A compressor and how it differs from its predecessors, the UA 1176 and LA-2A.
Helping Billie Eilish Craft Hits
Learn how mix engineer Rob Kinelski used UAD plug-ins to help craft a multi Grammy-winning record, Billie Eilish’s When We All Fall Asleep, Where Do We Go?
RAC Records 2020 Album with Apollo & UAD
Learn how Grammy-winning producer RAC uses UAD and Apollo to sculpt deep, expansive low end, how he uses distortion on drums, and why guitar is all over his latest album, BOY.


